Ch4_6 웹브라우저에서 mbed LED 깜빡이기
학습 내용
웹브라우저에서 mbed의 LED를 점멸 시키는 학습을 하게 됩니다
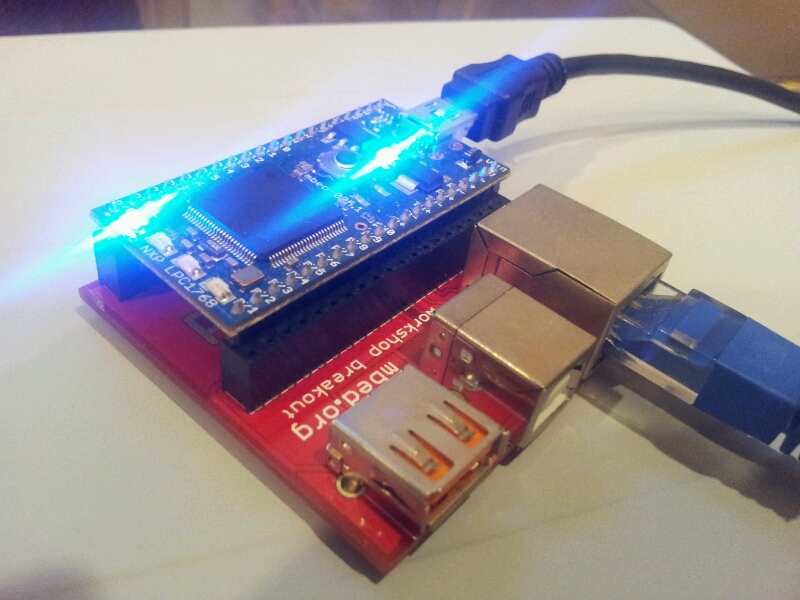
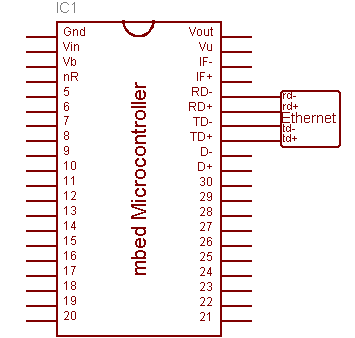
배선도 & 회로도
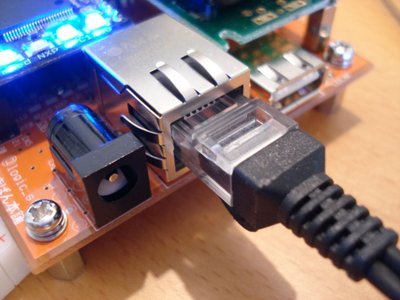
배선 사진
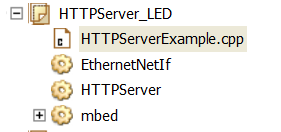
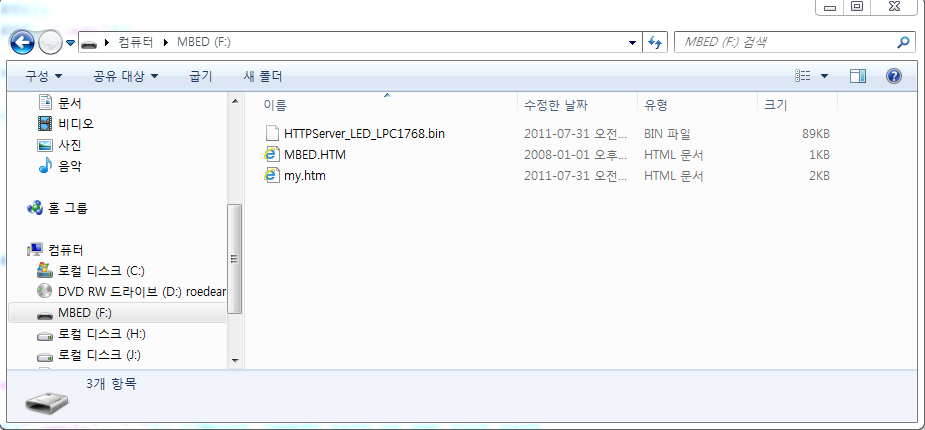
코딩
#include "mbed.h"
#include "EthernetNetIf.h"
#include "HTTPServer.h"

DigitalOut led1(LED1);
DigitalOut led2(LED2, "led2");

LocalFileSystem fs("webfs");

EthernetNetIf eth;

HTTPServer svr;

int main() {

  printf("Setting up...\n");
  EthernetErr ethErr = eth.setup();
  if(ethErr)
  {
    printf("Error %d in setup.\n", ethErr);
    return -1;
  }
  printf("Setup OK\n");

  FSHandler::mount("/webfs", "/"); //Mount /webfs path on web root path

  svr.addHandler<RPCHandler>("/rpc");
  svr.addHandler<FSHandler>("/"); //Default handler
  //Example : Access to mbed.htm : http://a.b.c.d/mbed.htm or http://a.b.c.d/files/mbed.htm

  svr.bind(80);

  printf("Listening...\n");

  Timer tm;
  tm.start();
  //Listen indefinitely
  while(true)
  {
    Net::poll();
    if(tm.read()>.5)
    {
      led1=!led1; //Show that we are alive
      tm.start();
    }
  }

  return 0;

}
<html>
<head>
<title>
LED2 ON/OFF Temperature Display
</title>
</head>
<body>

<script language="javascript">

var Button = 0;

function button_push(flug)
{
if (Button==0)
	{
	Button = 1;
	document.Form.FormButton.value = "Off";
	}
else
	{
	Button = 0;
	document.Form.FormButton.value = "On";
	}
var req = new XMLHttpRequest();
	req.open("GET", "http://" + location.host + "/rpc/led2/write+" + Button, true);
	req.send("");
}


</script>
 <form name="Form" action="#">
 LED2:
 <input type="button" value="On" name="FormButton" onclick="button_push(0)">
 <br>
 </form>
</body>
</html>
이 프로그램 사이트:
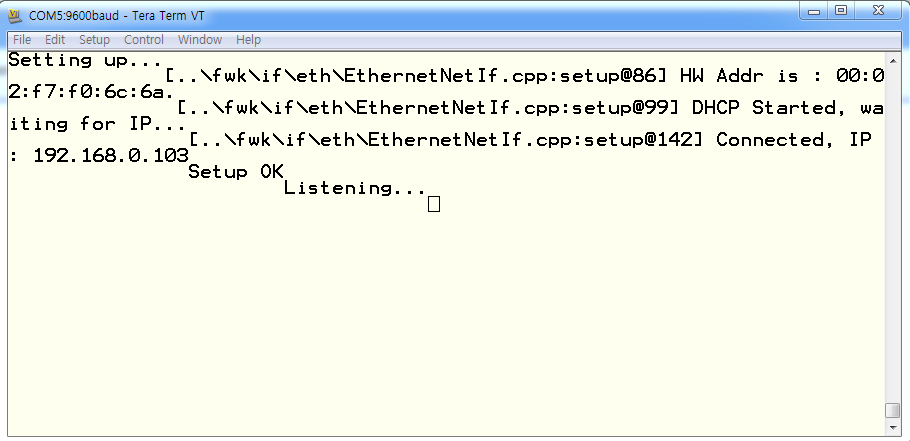
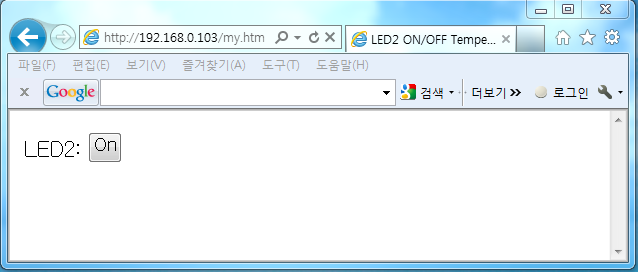
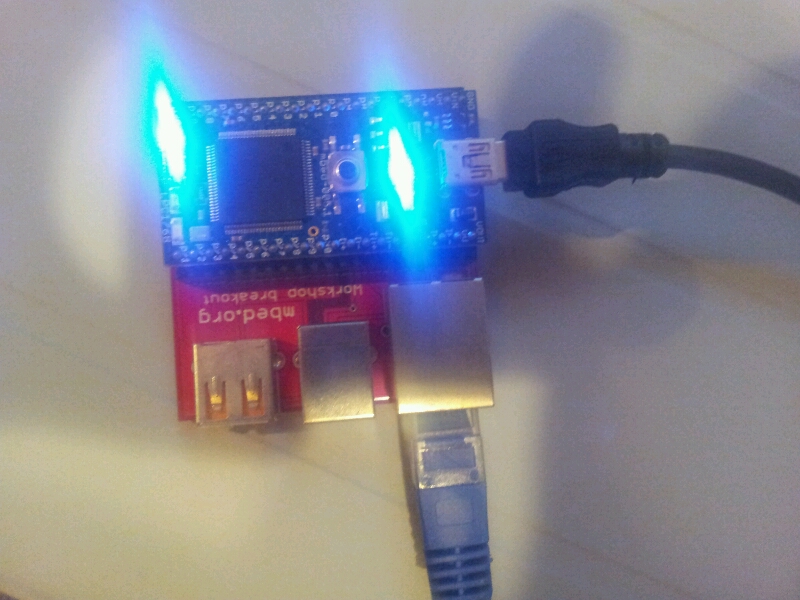
HTTPServer 구조
HTTPServer는 다음 세가지로 구성되어 있습니다:
- server (HTTPServer)
- Request dispatcher (HTTPRequestDispatcher)
- Request handlers(deriving from HTTPRequestHandler)
HTTP Server Requests Handlers
- 간단한 "Hello world" handler
- Filesystem handler
- RPC handler
직접 핸들러를 만들수 있다.
Include 파일
#include "HTTPServer.h"
Reference
Import program
Public Member Functions |
|
| HTTPServer () | |
|
Instantiates the HTTP Server.
|
|
| template<typename T > | |
| void | addHandler (const char *path) |
|
Adds a handler.
|
|
| void | bind (int port=80) |
|
Starts listening.
|
|
서버를 포트에 바인드하기: port 그리고 연결을 기다린다. 이 함수는 즉시 원상대로 돌아갑니다. 따라서 Net::poll()을 정기적으로 불러 서버가 리퀘스트에 적절히 연결할수 있도록한다.
예제
이 프로그램은 서버를 셋업하고 세가지 핸들러 데모를 보여줍니다.
The local file system is available either under the /files/ path. Since FSHandler is the default handler here, the mbed file system (/webfs/) is made available on the root path of the server as well, so mbed.htm is available at the URLs http://a.b.c.d/files/mbed.htm and http://a.b.c.d/mbed.htm, where a.b.c.d is your mbed's IP address.
#include "mbed.h"
#include "EthernetNetIf.h"
#include "HTTPServer.h"

DigitalOut led1(LED1, "led1");
DigitalOut led2(LED2, "led2");
DigitalOut led3(LED3, "led3");
DigitalOut led4(LED4, "led4");

LocalFileSystem fs("webfs");

EthernetNetIf eth;
HTTPServer svr;

int main() {
  Base::add_rpc_class<DigitalOut>();

  printf("Setting up...\n");
  EthernetErr ethErr = eth.setup();
  if(ethErr)
  {
    printf("Error %d in setup.\n", ethErr);
    return -1;
  }
  printf("Setup OK\n");

  FSHandler::mount("/webfs", "/files"); //Mount /webfs path on /files web path
  FSHandler::mount("/webfs", "/"); //Mount /webfs path on web root path

  svr.addHandler<SimpleHandler>("/hello");
  svr.addHandler<RPCHandler>("/rpc");
  svr.addHandler<FSHandler>("/files");
  svr.addHandler<FSHandler>("/"); //Default handler
  //Example : Access to mbed.htm : http://a.b.c.d/mbed.htm or http://a.b.c.d/files/mbed.htm

  svr.bind(80);

  printf("Listening...\n");

  Timer tm;
  tm.start();
  //Listen indefinitely
  while(true)
  {
    Net::poll();
    if(tm.read()>.5)
    {
      led1=!led1; //Show that we are alive
      tm.start();
    }
  }

  return 0;

}
프로그램 사이트:
Robustness
Although this HTTP Server should still be considered in beta phasis, it has been built for robustness. A good test is this web page that you can use with the previous example: put it on your mbed and open it in your browser (at an address like http://a.b.c.d/webfs/stress.htm): http://mbed.org/media/uploads/donatien/stress.htm.
It will start an asynchronous HTTP Request every 100ms, sending RPC commands to set the leds on and off. You will see that all requests are not successfully processed, but the server will not crash and will remain up and running properly after you close the page.
License
라이브러리
Precompiled version:
Import libraryHTTPServer
This library is deprecated.
Import library
| HTTPRequestHandler | HTTP Server's generic request handler |
| HTTPServer | A simple HTTP server implementation |
학습 참고
1 comment on Ch4_6 웹브라우저에서 mbed LED 깜빡이기:
Please log in to post comments.


Dear Sir I found your httpserver example very usefull
Here are more buttons
Lotfi
<html>
<head>
<title>
Home Server
</title>
</head>
<body>

<center>
<h1>Home Server - Baghli</h1>
<h4>Designed by Lotfi - v0.2</h4>
</center>
<script language="javascript">

var Button = 0;
var X10DeviceState=new Array(3);
//var X10DeviceChannel= new Array(1,2,9);	// X10 Channel
var X10DeviceChannel= new Array(2,3,4);	// LED

function X10_On(device)
{
var elt = document.getElementById( "FormButton"+X10DeviceChannel[device])
if (X10DeviceState[device]==0)
	{
	X10DeviceState[device] = 1;
	elt.value = "Off";
	}
else
	{
	X10DeviceState[device] = 0;
	elt.value = "On";
	}
//	alert(X10DeviceState[device]);
var req = new XMLHttpRequest();
//var cmd= "http://192.168.1.25/rpc/led" + X10DeviceChannel[device] +"/write+" + X10DeviceState[device];
var cmd= "http://" + location.host + "/rpc/led" + X10DeviceChannel[device] +"/write+" + X10DeviceState[device];
//	alert(cmd);
	req.open("GET", cmd, true);
	req.send("");
}


</script>
 <form name="Form" action="#">
 LED2:
 <input type="button" value="On" id="FormButton2" onclick="X10_On(0)">
 LED3:
 <input type="button" value="On" id="FormButton3" onclick="X10_On(1)">
 LED4:
 <input type="button" value="On" id="FormButton4" onclick="X10_On(2)">
 <br>
 </form>
</body>
</html>