Dual CANbus monitor and instrumentation cluster. Presently tuned for the Nissan Leaf EV.
Dependencies: SPI_TFTx2_ILI9341 TFT_fonts TOUCH_TFTx2_ILI9341 mbed
Fork of CANary_corrupt by
guide
CANary User Guide
All CANary functions are accessed via the touch screen. Both screens are independent and can be set to any of the available display modes.
Display Modes
There are 18 total screens available (presently). Navigation is done using the buttons on the screen which appear across the bottom when the screen is touched. Next & Prev advance to the next and previous screens in order. Select "XXX" will leave the display on the present screen and removed the navigation buttons. Buttons will also disappear if no entry is made for 5 seconds. The "Go To Index" button jumps you to the index screen (see below) for quick navigation to a specific screen. Some screens will bring up screen specific buttons when the screen is touched.
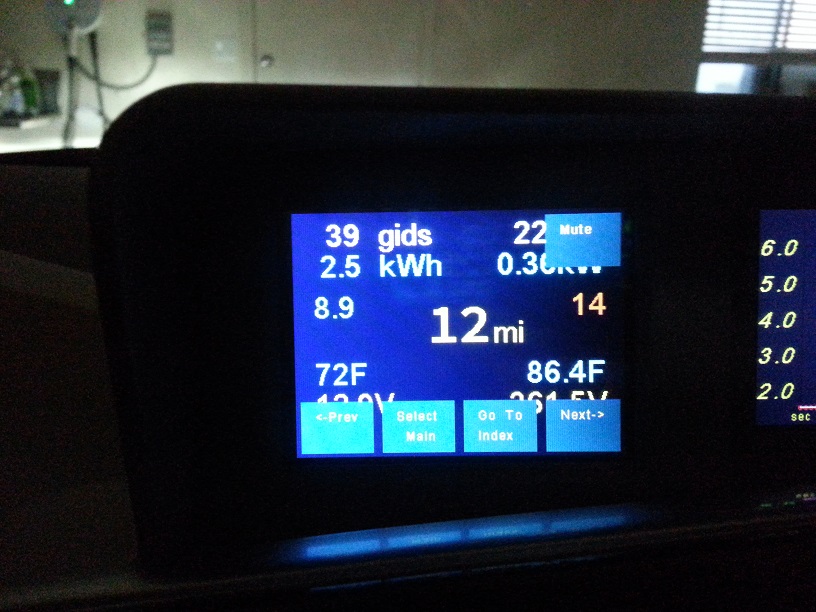
off
Just a blank screen
log
Includes diagnostic messages
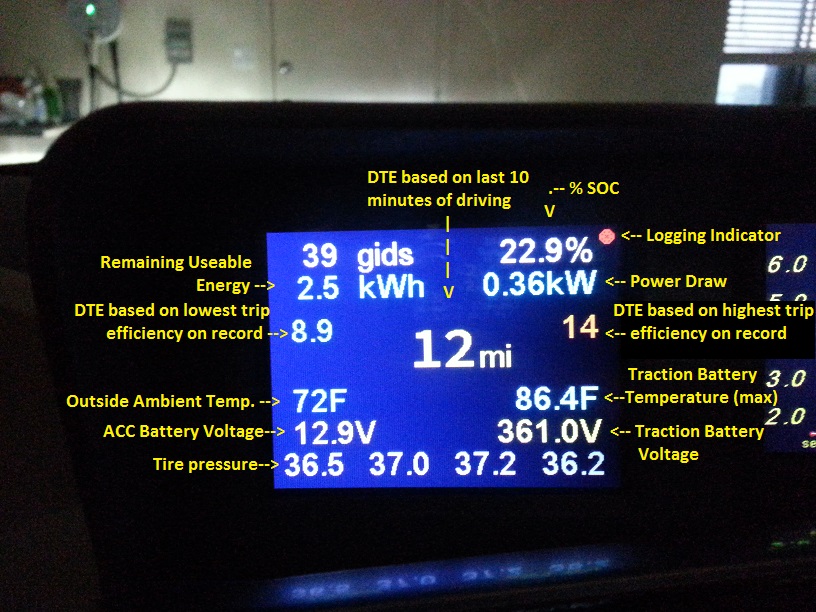
main
Primary screen with most pertinent information desired while driving. When climate control is on, the power consumed by CC is displayed in small font below the total power draw and the potential increase in range in displayed below the center DTE indicator. Highest and lowest trip efficiencies are recorded *with climate control impact removed* (IOW, the efficiency if CC was off) and then displayed with the current climate control impact added in.
brake
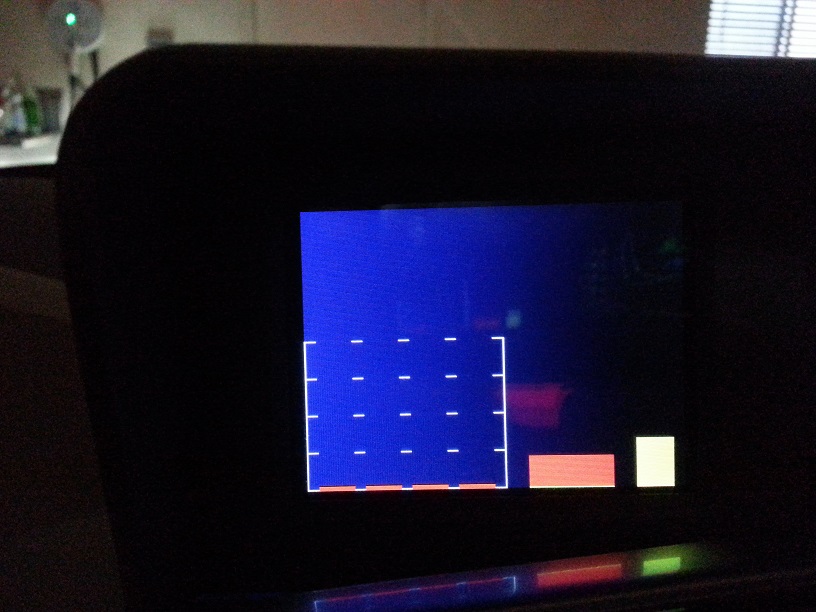
This screen is primarily used during playback to observe driver activity. Includes brake pressure and throttle position bar graphs along with steering angle across the top.
efficiency
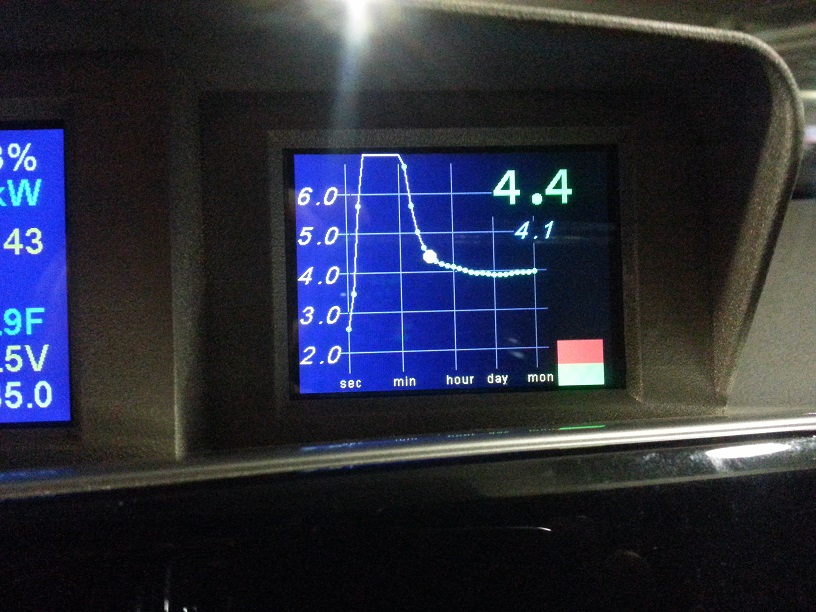
Displays your driving efficiency in a semi-log graph. Left side is average efficiency over the last second and right side is the average over the last month *of driving* (not calendar month). A bar graph showing the braking force is displayed on the right. Green portion indicates the portion being met through regeneration and the red portion indicates the portion being met using friction. Number in upper right is the average efficiency over the last 10 minutes (big dot on graph). Number below it is the average efficiency of the current trip.
dte
Similar to the efficiency screen except Distance To Empty is displayed instead of efficiency.
cellpair
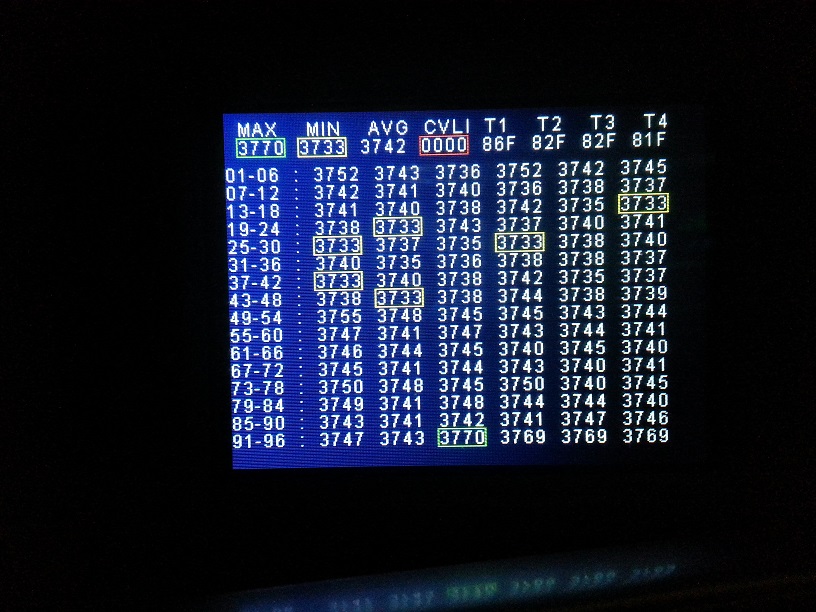
Displays the voltages for all 96 cellpairs. Max, min, and average are indicated. Cell Voltage Loss Inspection (CVLI) value is computed if the battery is below the threshold required for CVLI; 0000 otherwise. Any cells failing the CVLI test are highlighted in red. All four pack temperature are also displayed in the upper right corner.
cp histogram
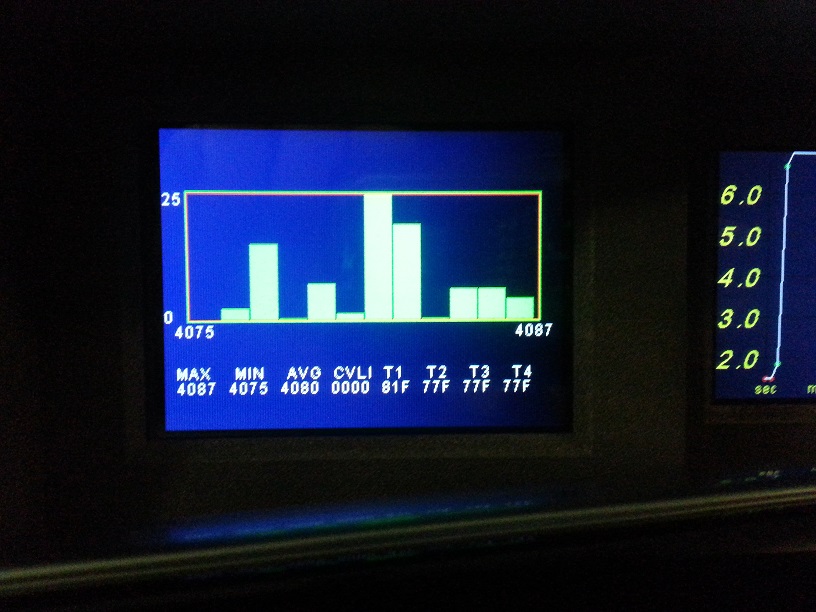
Cellpair voltages displayed in a histogram.
cp bars
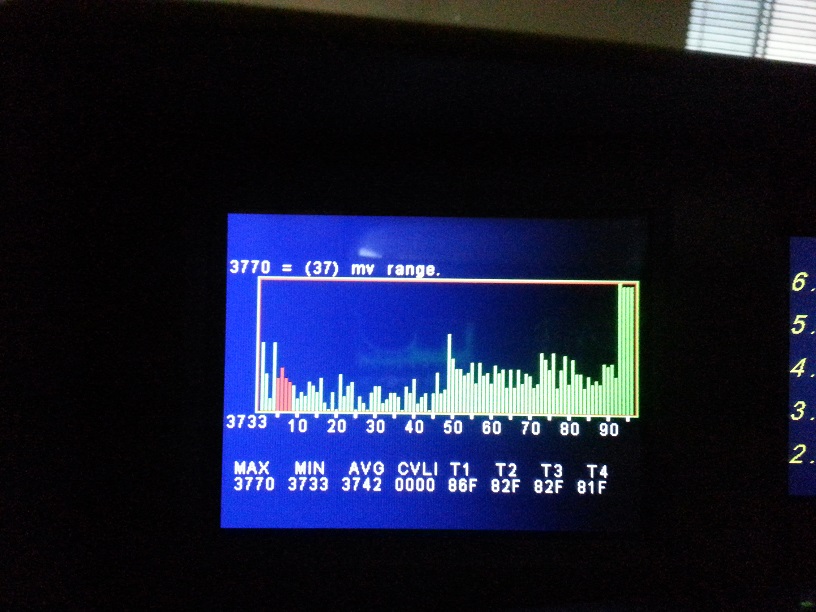
Cellpair voltages displayed in a bar graph. Cellpairs with shunts active are highlighted red.
monitor
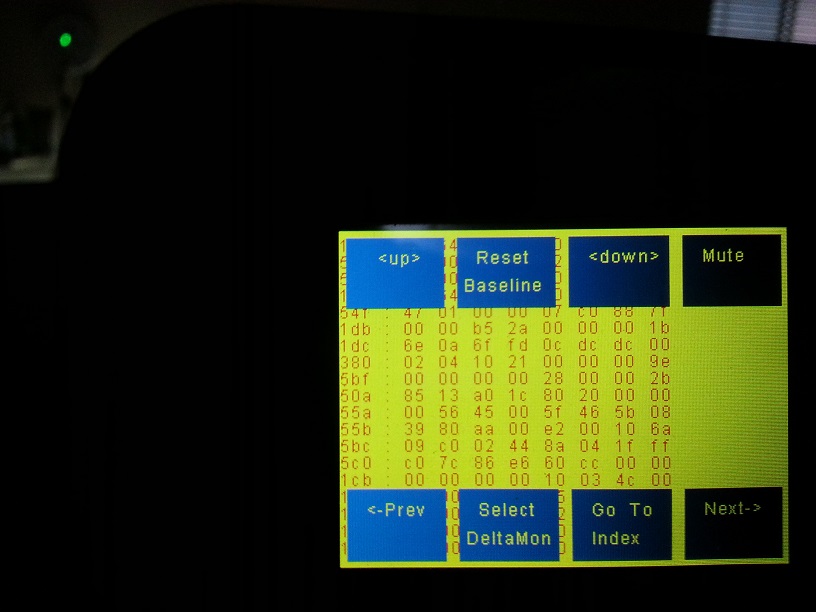
Displays the last payload for all canbus messages.

change monitor
Similar to monitor except static messages are hidden. The controls in the screen below disappear if no user input for 5 seconds.
playback
Used to start and control log file playback. Primarily used for bench-testing/code development.
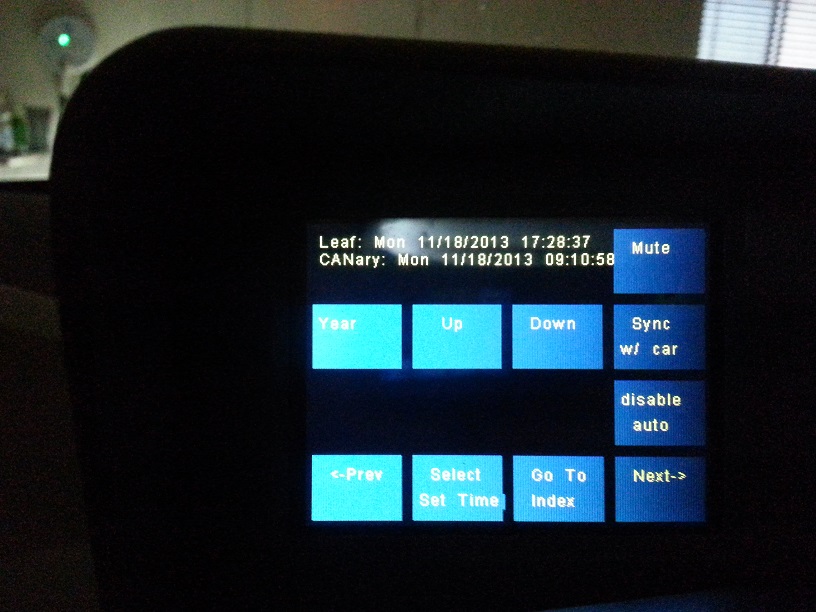
date/time
Used to set the date and time either manually or to sync with the GPS clock. If auto-Sync is enabled, the clock is automatically synchronized with the GPS clock each time the car is started.
config1
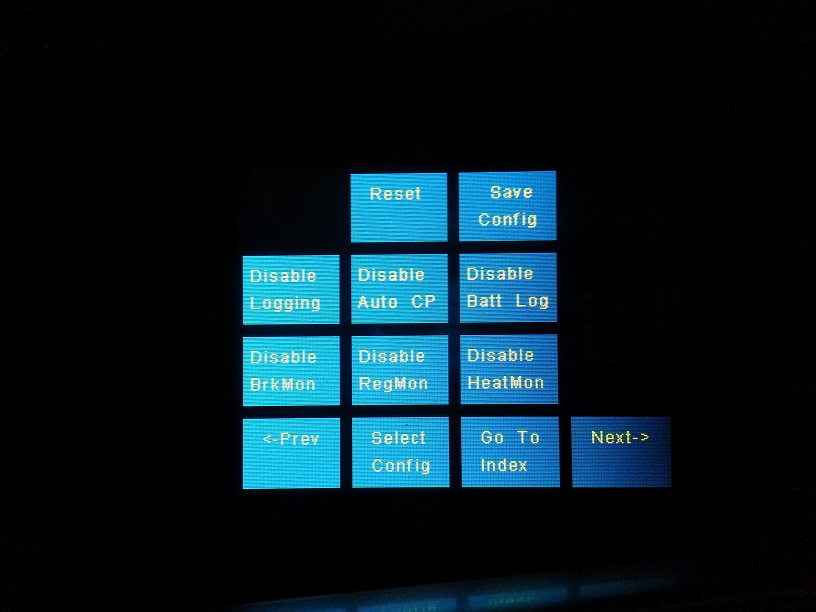
Configuration screen 1
config2
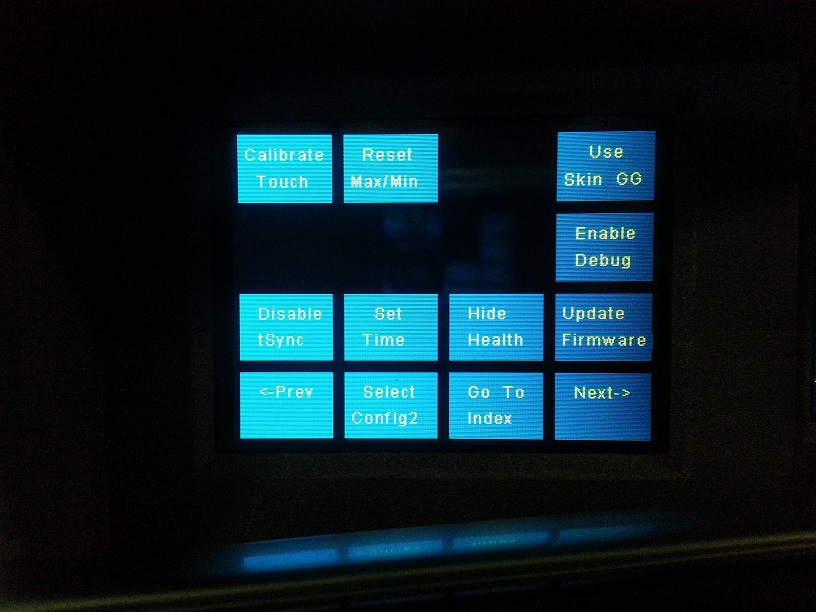
Configuration screen 2
index
Index screen for quick navigation

trip
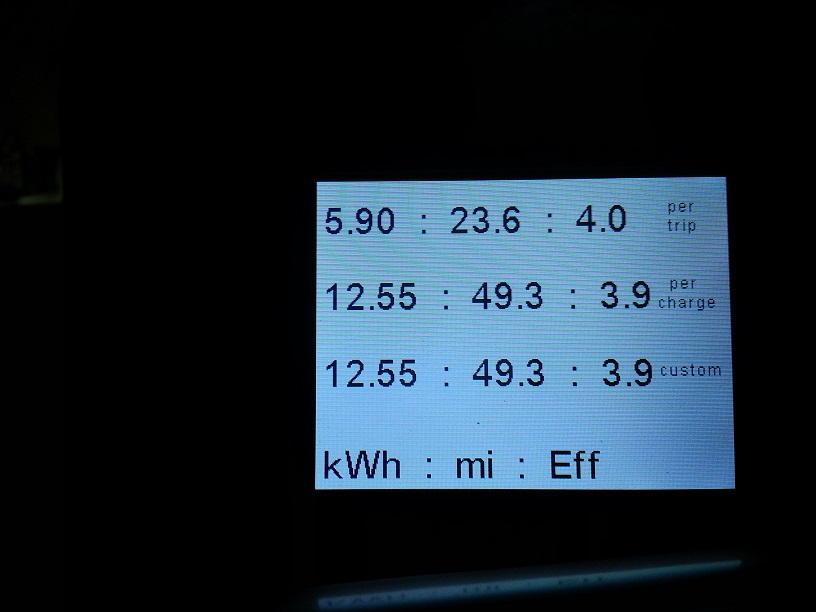
Trip meters displaying kWh used, miles driven, and efficiency for the current trip, since last charge, and a user reset-able entry. Tapping the screen brings up the user trip meter reset button.
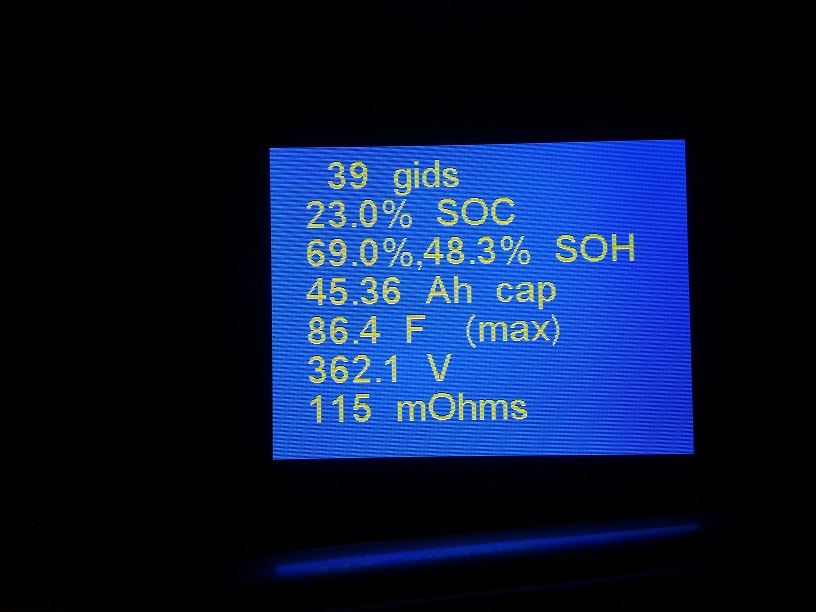
health
Screen display various battery health metrics. SOH row includes true SOH followed by Hx (a parameter that degrades with age but the meaning of which is unknown at this time). Bottom row displays the computed battery series resistance (based on delta_V/delta_I at the battery terminals during driving). Can be made to display when the car is turned on (reverts to the previous screen when the car goes into motion) and car off (disappears after 10 seconds).
test
Screen to display up to eight user programmable can messages. Messages highlight when they change. Write buffer pointer separation is also displayed here when logging.

Configuration Options
Reset
Tap this to reset the mbed (same as cycling power)
Save Config
All configuration values will be written to the flash so they are restored even when power is cycled. The display being used to save the configuration is set to the Main screen and the other display is set to its currently selected screen.
Logging
Enables logging of all canbus activity to the USB thumbdrive if present. A high-speed thumbdrive will be required to keep up with the datarate. Most flash drives cannot. The only drive I've found that never falls behind is a Lexar microSD reader with a class10 microSD. The CANary must be reset if the USB drive is changed.
Auto CP
Enables/Disables the auto request for cellpair data. Default frequency is once every 5 minutes. Different frequencies can be programmed in the CONFIG.TXT file.
Battery Log
Enables/Disables writing all cellpair data to a log file on the USB drive each time the cellpair data is requested.
Brake Monitor
When enabled will cause the CANary to emit chirps, geiger-counter style, whenever friction brakes are employed. The more energy that is being dissipated by the brakes, the faster the chirps.
Regen Monitor
This monitor, when enabled, will emit a short chirp whenever the direction of energy into the battery changes. This alerts the driver to the entry to and exit from regeneration to enable coasting without taking their eyes off the road or taking the vehicle out of "gear."
Heater Monitor
This will emit a 0.5s tone when the heater turns on for the first time during a drive. This was implemented to help prevent undesired heater activation if the driver forgets to turn of the climate control since it consumes a lot of energy.
Calibrate Touch
Used to calbrate the touch screen. Recommend using a stylus during the calibration procedure.
Reset Max/Min
Resets the recorded max and min trip efficiency used for the max and min DTE computation.
Skins
Several authors contributed to the CANary development, each with unique preferences on how or what data is displayed. Skins were introduced to enable these different options.
Debug Mode
Puts the device into a more verbose debug mode.
Time Sync
When enabled, the CANary time (and date for 2011 & 2012 models) will automatically be synchronized to the Leaf GPS time each time the car is started.
Set Time
Used to manually set the time and date.
Show/Hide Health
User can optionally have the Health screen display whenever the car is turned on or off to observe any changes in the battery health.
Update Firmware
Used to update firmware (and optionally config.txt) from the USB drive. After compiling the firmware on any computer, the binary is renamed "firmware.bin" and copied to a USB drive. To update, insert the drive into CANary and reset using the reset button in the config1 menu. After CANary reset is complete, navigate to the config2 menu and tap Update Firmware. It will take several seconds and will reboot the device when done. If a config.txt file is found on the USB drive, that will also be copied to the CANary - enabling update of the configuration.
Hot-plug is presently not supported and failure to reset whenever a new USB device is added will likely result in corrupted firmware - requiring manual update using a PC. If this happens, connect a PC to the USB connector inside the enclosure, while holding the reset button on the mbed board. A popsicle stick, touch-screen stylus, or similar tool will be required to reach the reset button. While holding the reset button, drag the desired firmware file to the mbed drive registered on the PC. Once a non-corrupt firmware file is loaded onto the CANary, the reset button may be released.
When firmware is updated, a copy of the config.txt file is also placed on the USB drive and named config.bak. The user can edit this file if desired (with caution). Once edited, renaming the config.bak to config.txt will cause it to replace the config.txt on the CANary the next time firmware is updated.
Config.txt
The config.txt file contains additional configuration options. As of now, the parser is very simple and will choke if any of the entries are misspelled or out of order so it is recommended to start with the config.bak copy placed on the USB thumbdrive during firmware update and editing with caution. Rename the file config.txt and place on the thumbdrive during a firmware update will cause it to replace the config.txt on the CANary.
The file below has been annotated for the wiki - the actual file does not support annotations (yet)
config.txt
format 9    <-- indicates which rev of the config file follows
x0_off 5732    <-- various values computed during touch-screen calibration
y0_off 34009
x0_pp 77
y0_pp 106
x1_off 33955
y1_off 6310
x1_pp 80
y1_pp 104
x_mid 31986
dMode0 4    <-- desired display for left-hand screen (is set to the current selection during config save)
dMode1 2    <-- desired display for right-hand screen (is set to the current selection during config save)
ledHi 0.800    <-- sets the display brightness during daytime (headlights off)
ledLo 0.300    <-- sets the display brightness during nighttime (headlights on)
pollInt 300    <-- polling interval for battery cellpair and temperature monitoring in seconds
scale12V 16.20    <-- used to calibrate the accessory battery voltage
skin 0    <-- desired skin
dtePeriod 14    <-- selects the index for the DTE monitor.  Default of 14 corresponds to the 10-minute interval
DebugMode 0    <-- debug mode
metric 0    <-- not used any more - metric/english is selected based on the unit selection in the in-car config
firmware 1    <-- current firmware index
showHealth 1    <-- enable Health scnree display on car on/off (configured in config screen)
brakeMon 1    <-- enable audible friction brake feedback (configured in config screen)
brkMonRate 400000    <-- sets the gain of the brake caliper friction to chirp period ratio
brkMonThr 4000    <-- sets the squelch level of the brake monitor (no sound if friction is below this threshold)
usrMsgId 5103    <-- eight user-programmable "watchpoints" on the Test screen.
usrMsgId 50a3       First three nibbles are the msgId, last is the byte in the payload.
usrMsgId 54a4
usrMsgId 54b4
usrMsgId 54c0
usrMsgId 55b4
usrMsgId 0000
usrMsgId 0000
modelYear 2011    <-- indicate the MY of the Leaf (there are slight changes to some of the messages)
autoSync 1    <-- enables automatic time synchronization (configured in config screen)
